Create
Even though Vote offers a lot of flexibility, we’ll go through it in a way that feels simple and approachable. Think of this section as your all-in-one handbook for understanding how every piece fits together. And don’t worry — we’ll guide you through it page by page, with clear explanations, screenshots, and tips to help you make the most out of your survey (or as we call it around here, your vote).
As you scroll through, you’ll find detailed subsections that cover each stage of the creation flow.
Different ways to create a vote
When you start a new vote, Vote gives you four different ways to begin. Each one fits a slightly different workflow, so here’s a quick overview to help you pick the option that suits your needs.
Quick Create
Quick Create is perfect when you need something fast. It lets you build a vote with exactly one question, but you still have access to all question types. Configuration is kept simple and streamlined, making it a great choice for quick polls or on-the-spot decisions.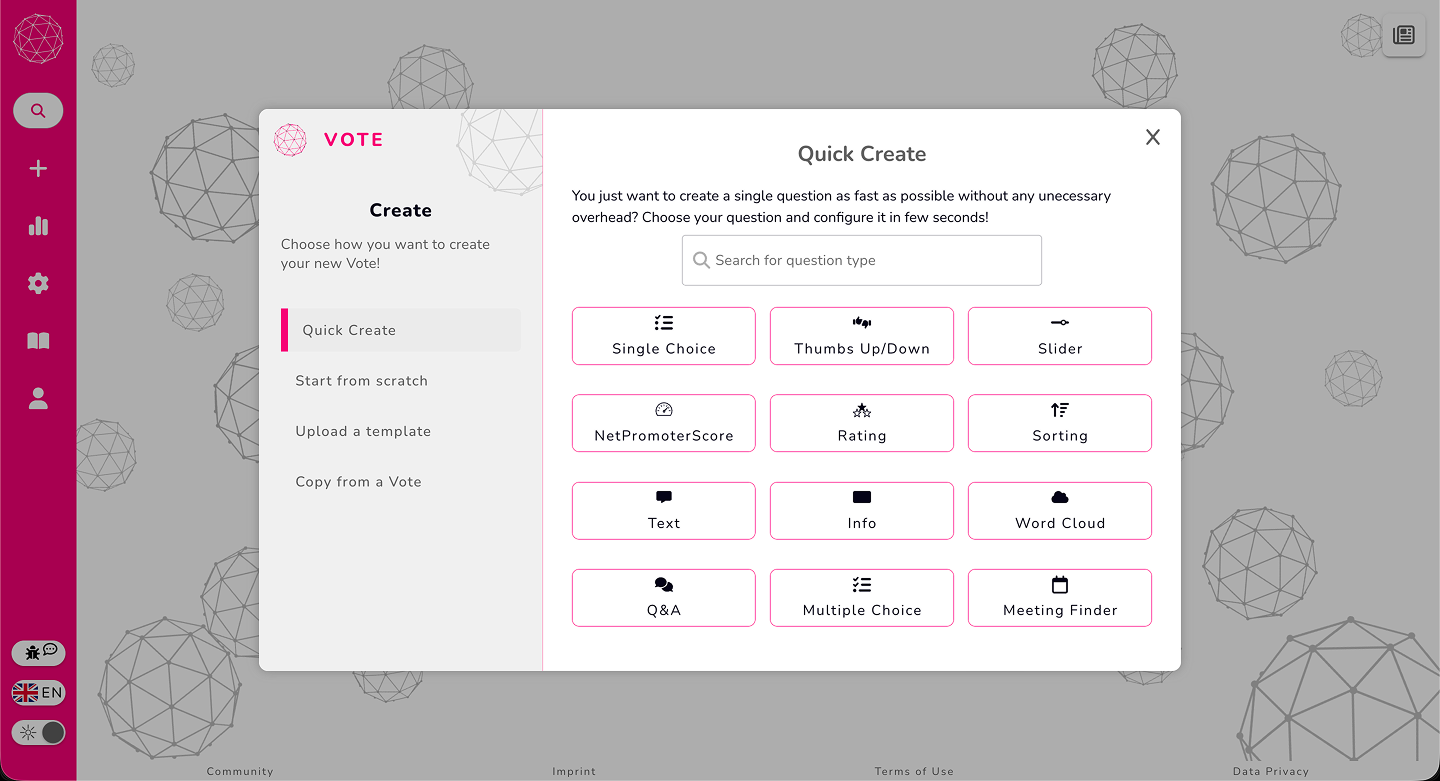
Create From Scratch
This is the full Vote experience. You’re free to create as many questions as you need, choose from all available question types, and use every module and configuration option. If you want full flexibility and control, this is the way to go.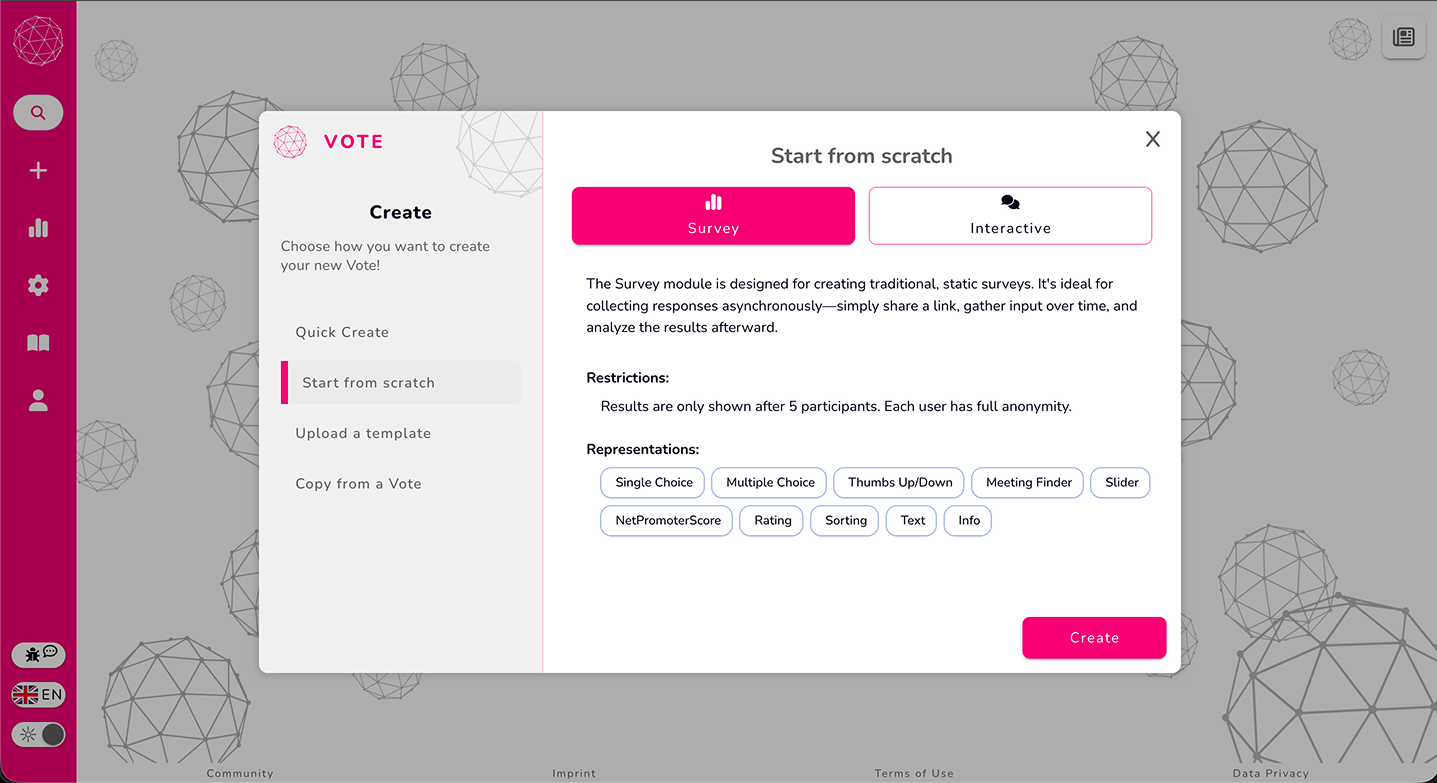
Upload Template
If you’ve previously exported a vote as a JSON template, you can upload that file here. Vote will load your entire setup — questions, modules, settings, and structure — so you can pick up where you left off or reuse a layout you already know works well.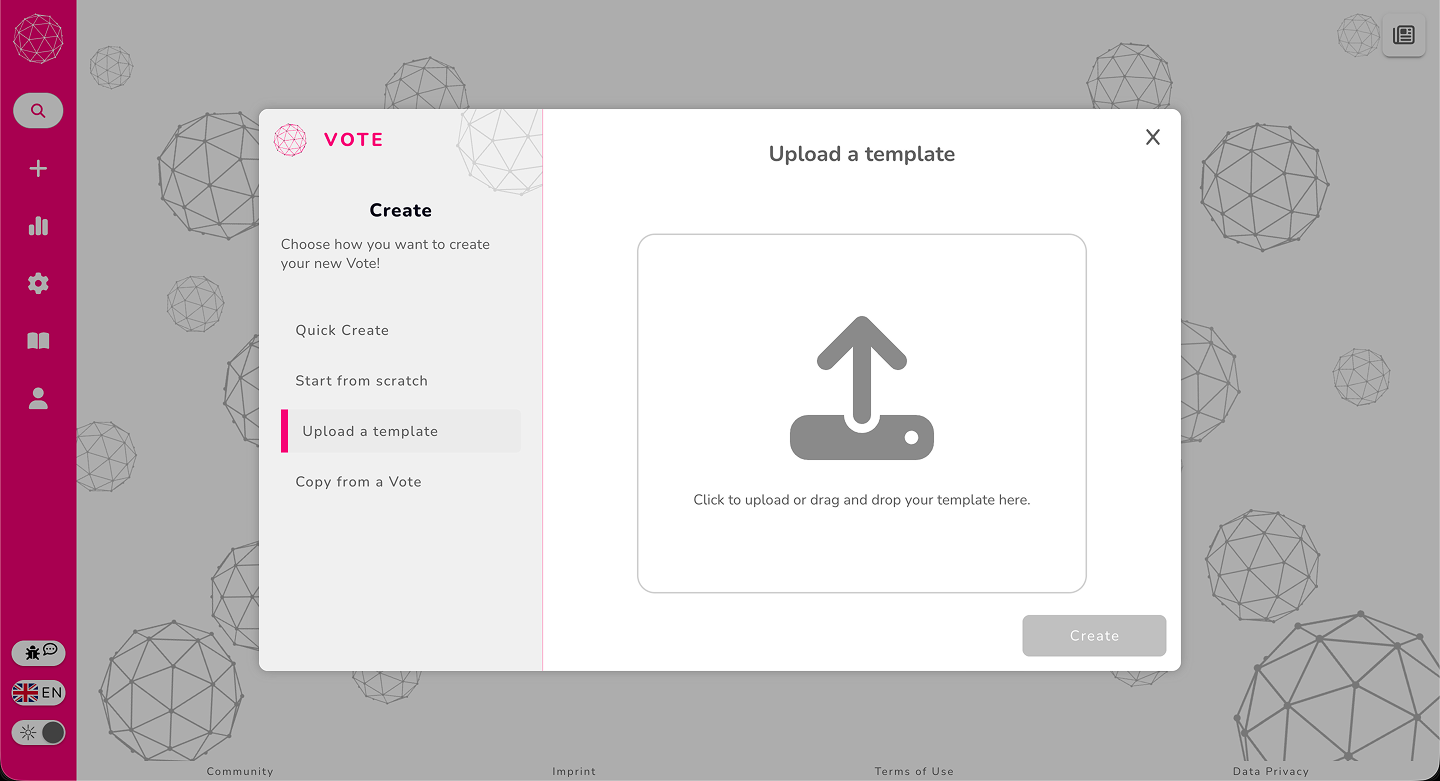
Copy From ID
Copy From ID lets you recreate an existing vote just by entering its Vote ID. This is handy when you want to reuse an old setup or adapt a vote that someone else shared with you.
A small but important reminder: this only works for votes that are not password-protected.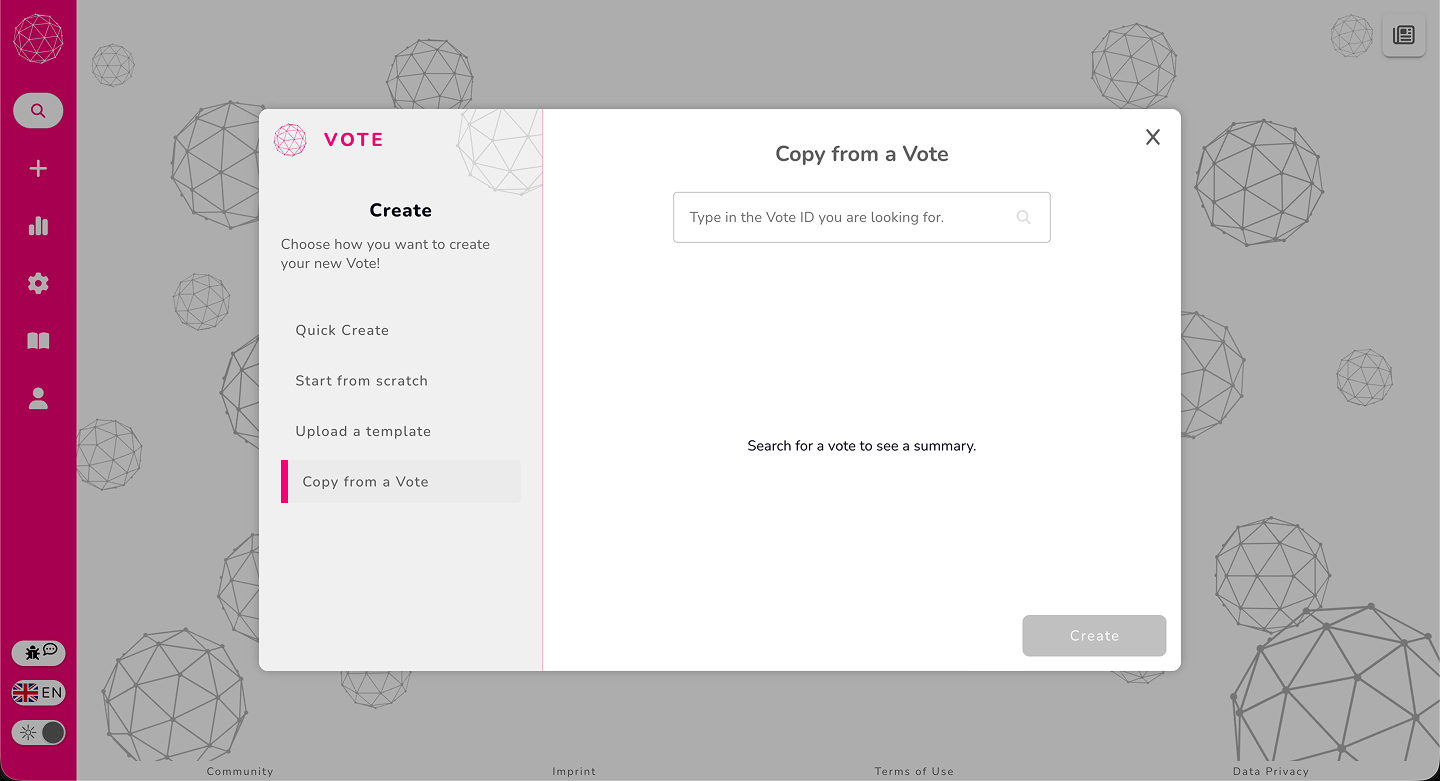
Walkthrough of the Main Creation Page
The creation page is where you’ll spend most of your time building and shaping your vote, so let’s take a relaxed tour of how everything is laid out. The video above walks you through the full experience — and this text version gives you something easy to reference as you go.
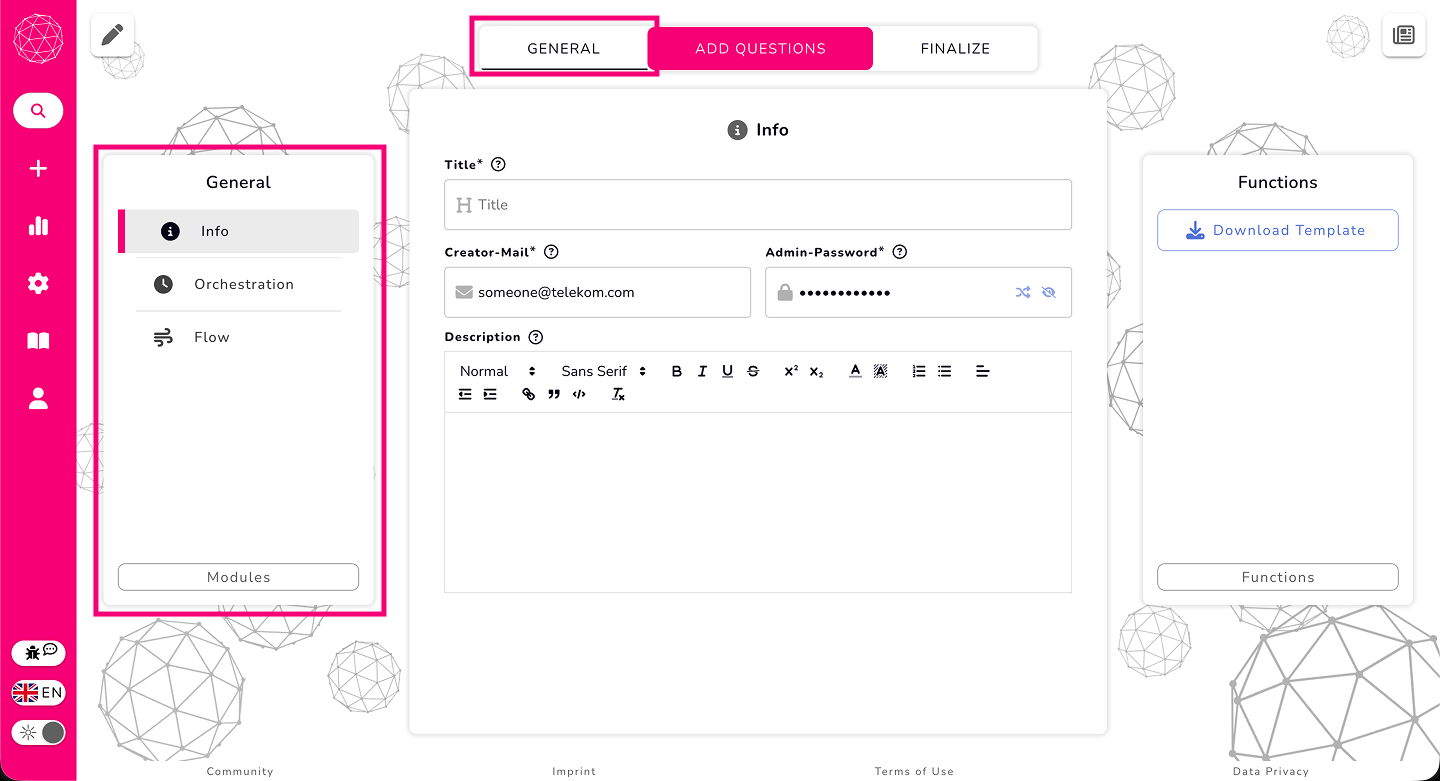
When you arrive on the creation page, the first thing you’ll notice is the navigation bar at the top. You’ll see three main tabs: General, Add Questions, and Finalize. You work through them from left to right as you build your vote.
The Three Main Areas of the Creation Page
No matter which tab you’re on (except for Finalize), the page is always organized into the same three sections:
Left pane – this area changes depending on what you’re working on:
On the General tab, it shows your available and added vote modules.
On any Block tab (when you’re adding questions), it shows the block overview and the list of questions inside that block.
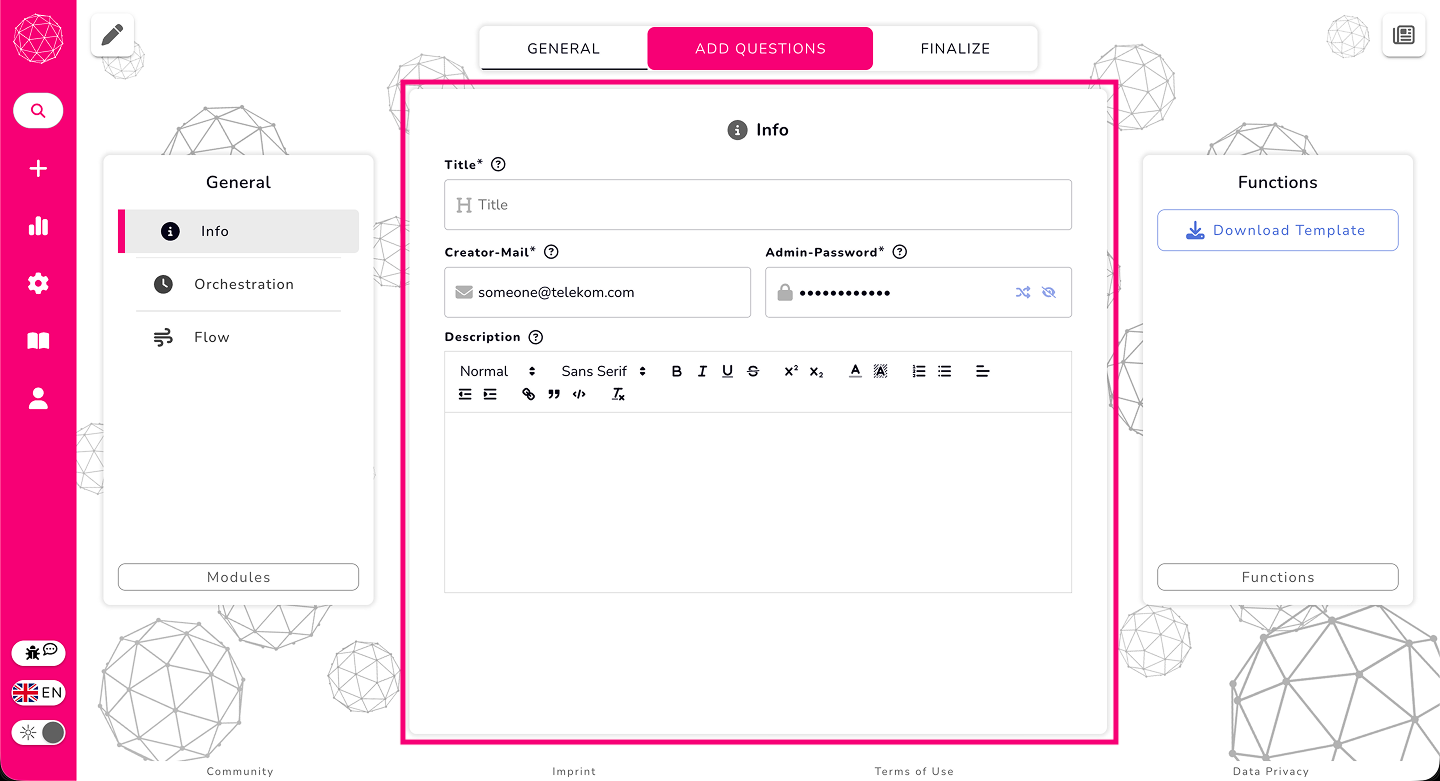
Middle area – this is your main workspace, where you edit the content of your vote. Whether you’re adjusting block details or editing an individual question, the middle section always displays what you currently have selected.
Right panel – this is your functions area. Here you’ll find tools like downloading your current setup as a template, adding additional languages, and reserving a custom vote ID through the functions menu at the bottom.

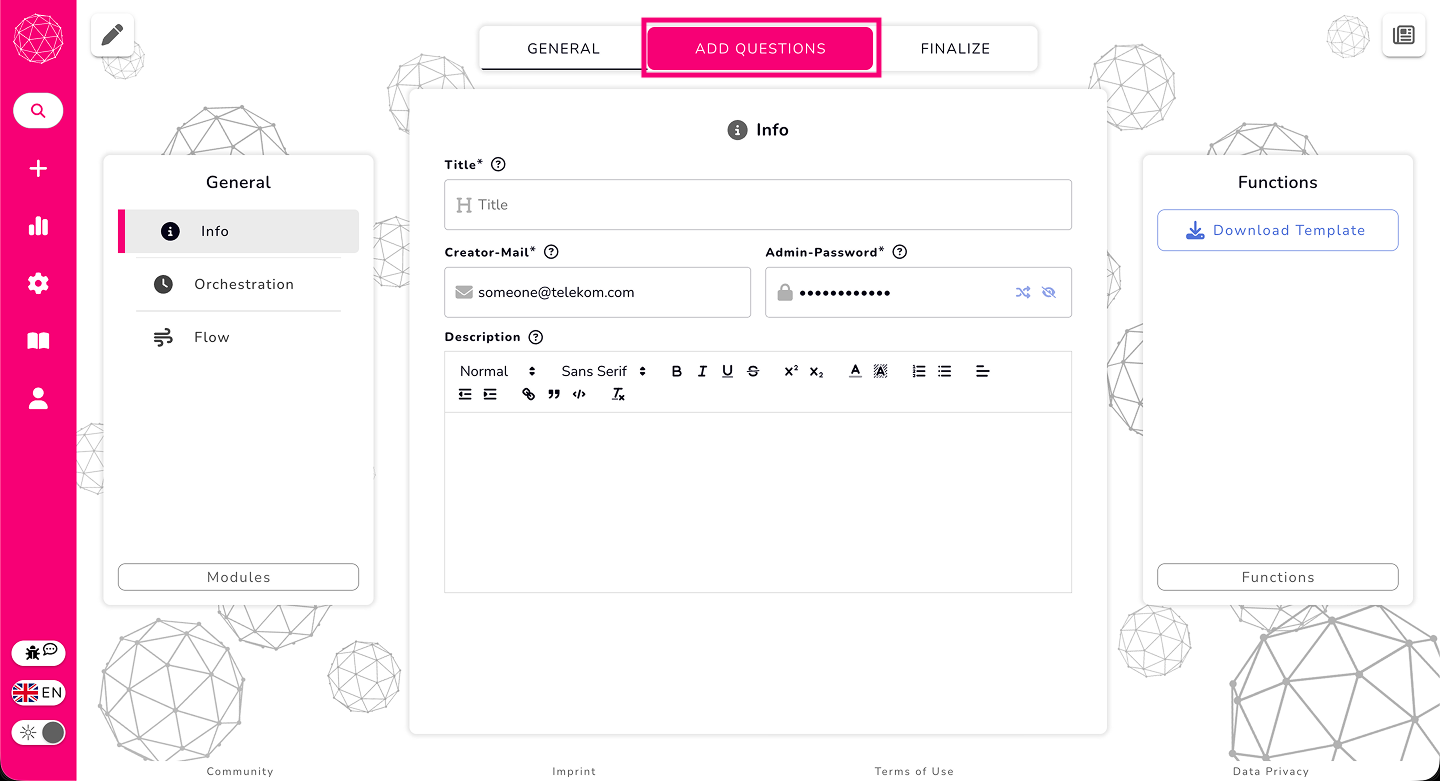
Adding Questions
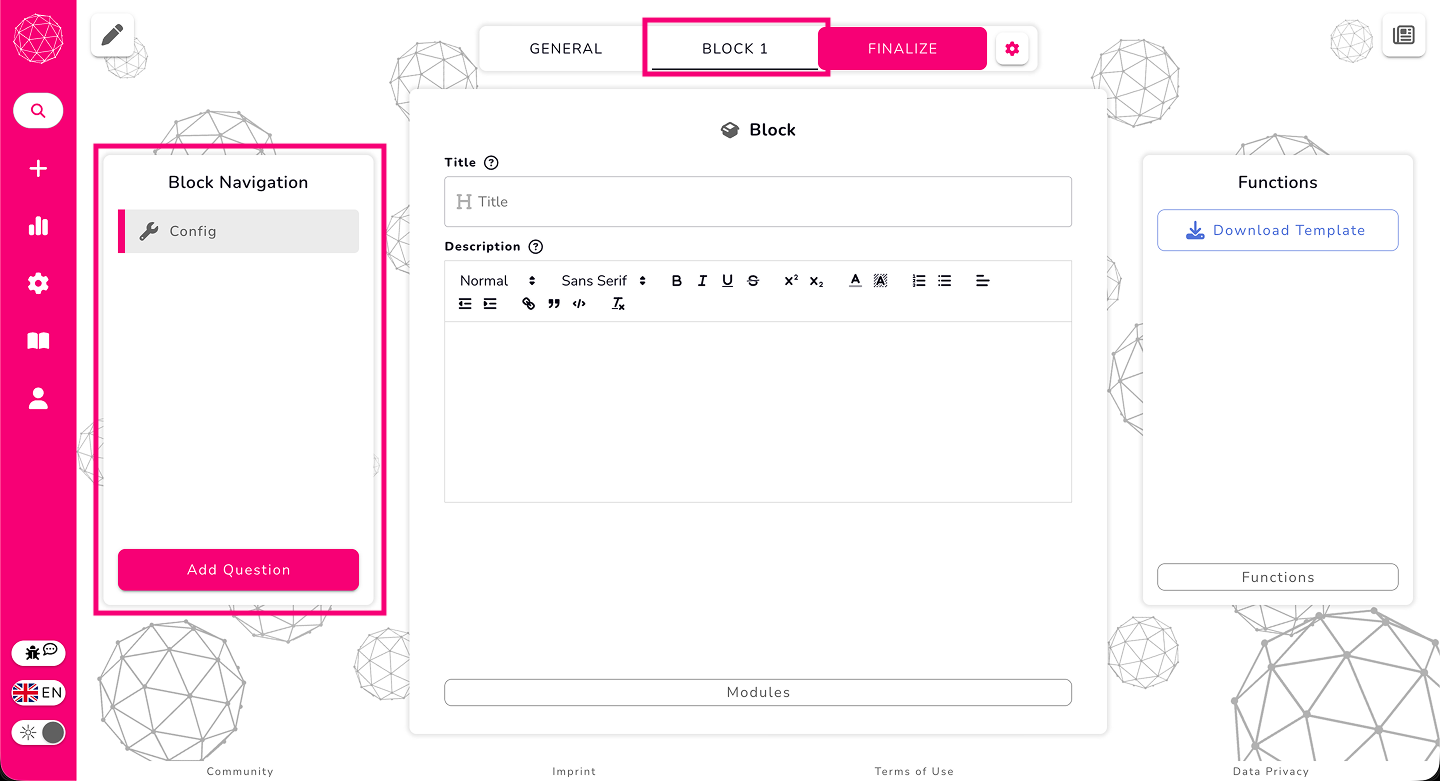
To start building your content, click Add Questions at the top. Once you click it, you’ll be prompted to add your first block to the vote. After you’ve added that block, your top navigation switches from General → Add Questions → Finalize to General → Block 1 → Finalize.
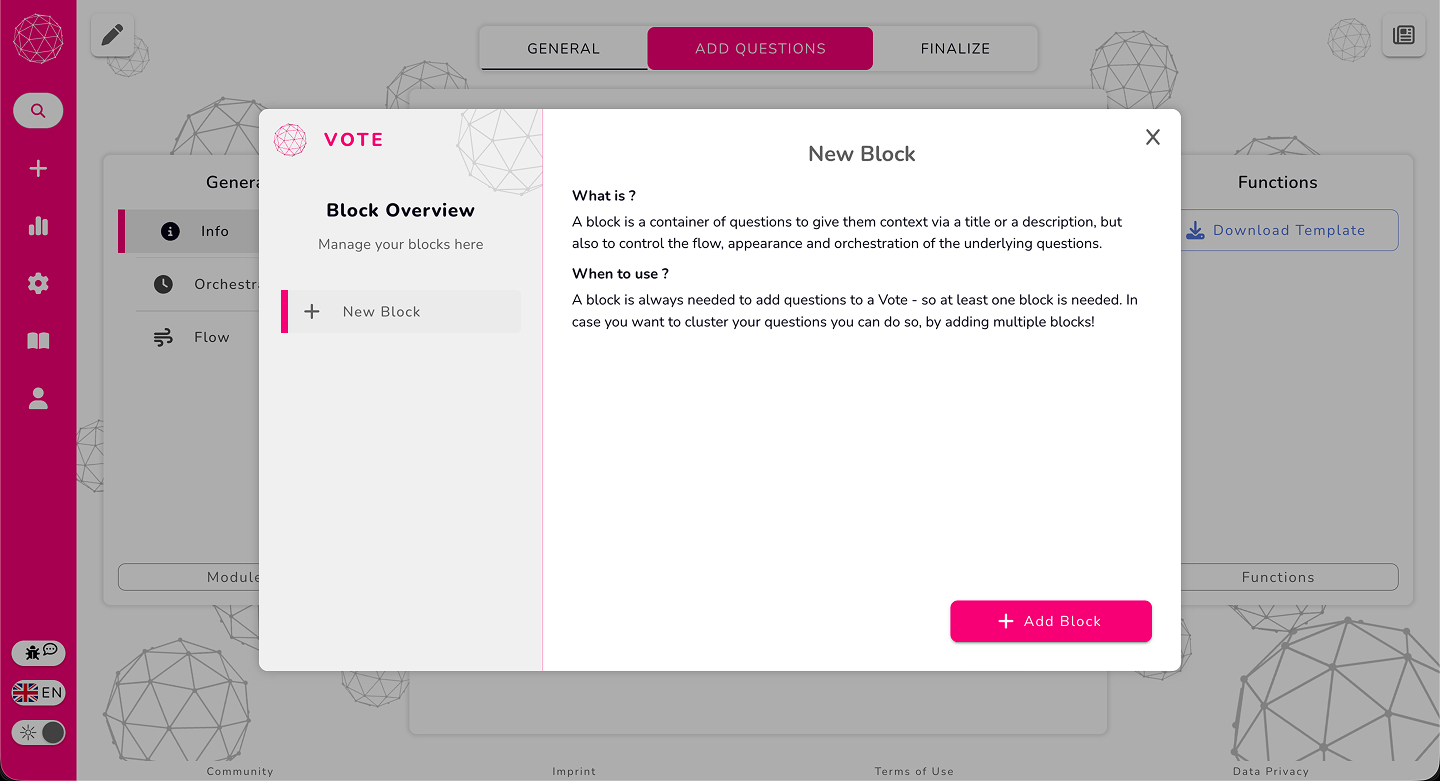
A block is simply a group of questions that belong together.
Next to the block tabs, you’ll see a small cogwheel icon. This lets you add new blocks, duplicate blocks, or remove blocks you don’t need anymore.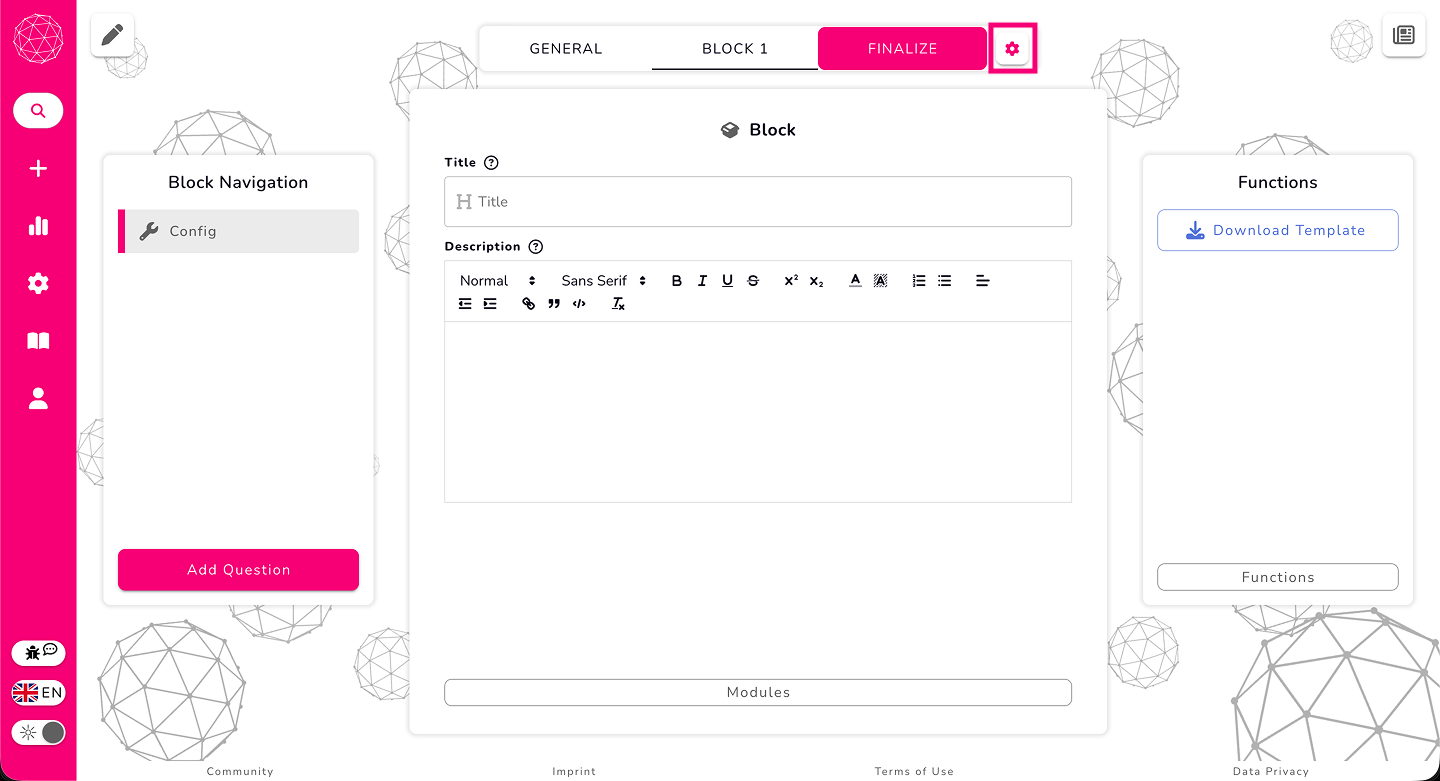
Once a block exists, the left pane switches to show your block structure and the list of questions inside it. Since the block starts empty, go ahead and add a question — for example, a single-choice question.
As soon as you select something, the middle section displays its details so you can start editing. When the thing you’re editing supports additional modules, you’ll notice a button at the bottom that allows you to add them directly.
Modules
Modules are extra settings or features that you can add to a Vote, Block, or Question to give them additional functionality. Think of them as little power-ups that let you customize how each part behaves and interacts with participants.
Here are some examples to give you a sense of what modules can do:
- Vote Modules – these affect the entire vote.
- Example: Vote Password – protects your vote with a password so only people with the password can participate.
- Block Modules – these affect a whole group of questions inside a block.
- Example: OnePage – displays all the questions in a block on a single, infinitely scrolling page instead of having participants jump between questions with navigation buttons.
- Question Modules – these are added to individual questions to make them behave in special ways.
- Example: Conditional Question – allows you to show follow-up questions based on a participant’s answer.
Where to Add Modules
Vote:
Go to the top navigation bar and select General. In the left pane, you’ll see a Modules button — click it to add modules directly to your vote.
Block:
Select the block you want to modify from the top navigation bar. Then, in the left pane, choose Config, and in the middle pane, you’ll find the Modules button to add block-level modules.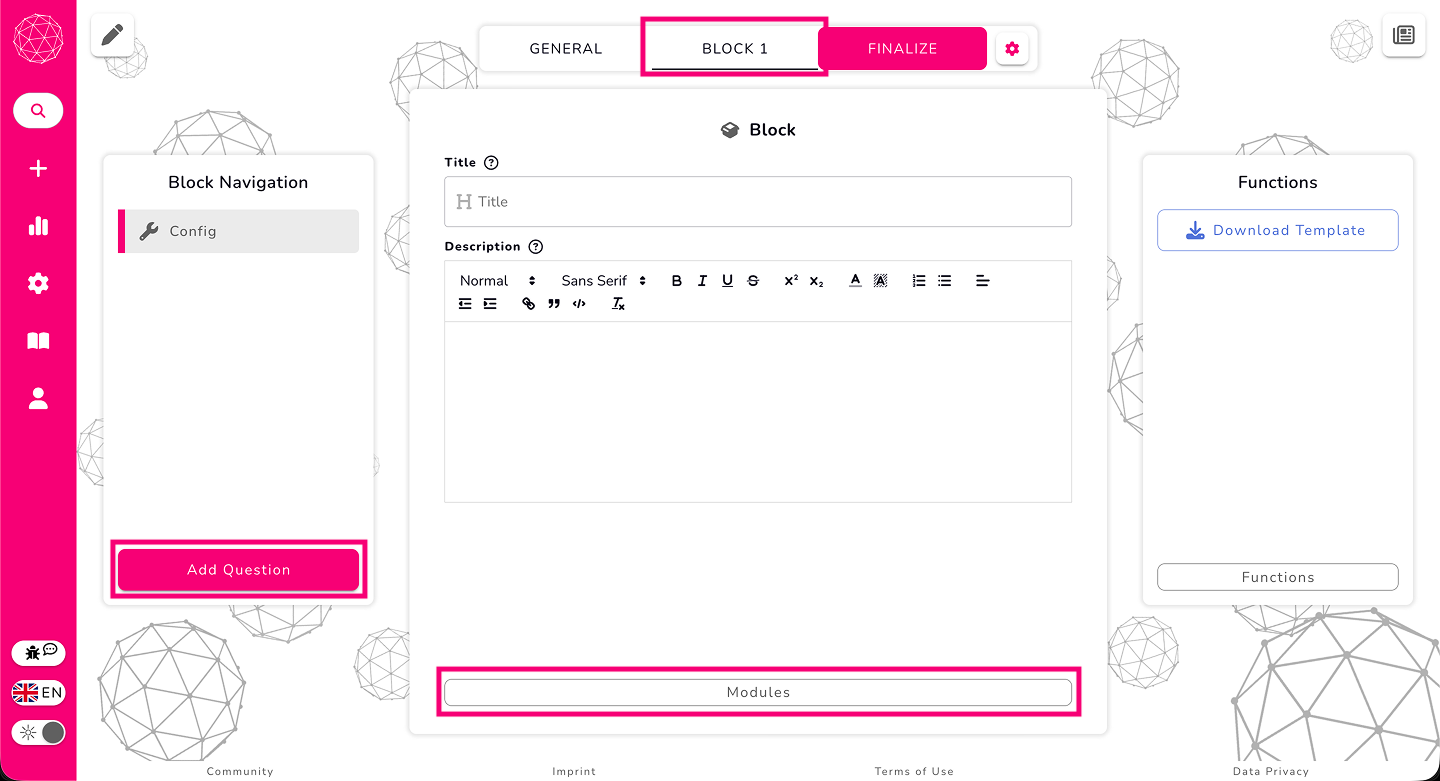
Question:
First, select the block from the top navigation bar, then choose the specific question in the left pane. In the middle pane, click the Modules button to add modules to that question.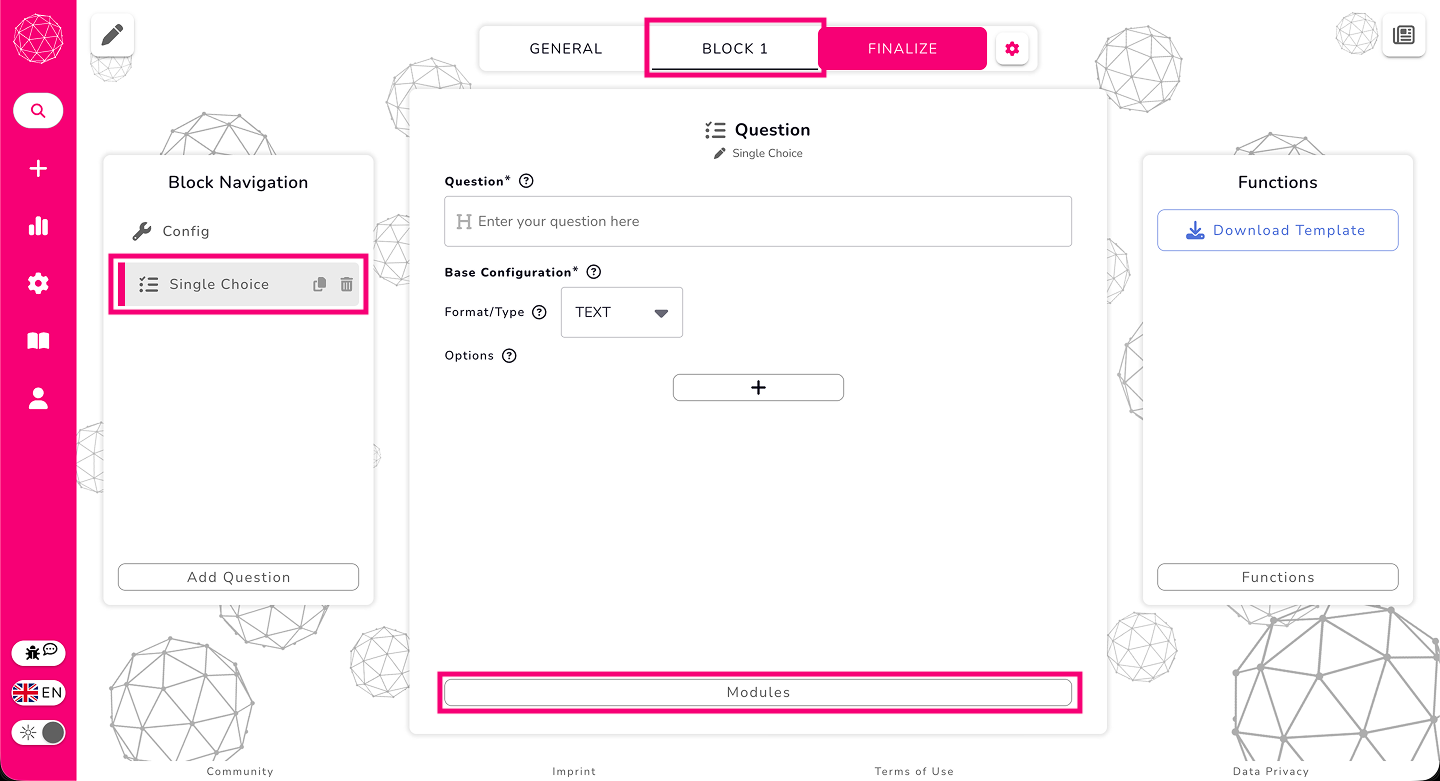
Modules give you flexibility and control, letting you tailor the vote experience exactly how you want it — whether that’s securing your vote, customizing question flow, or changing the layout of a block.
To explore all the modules and what they can do in detail, check out our documentation.
Previewing Your Vote
In the top-left corner, you’ll find a small view switcher. This lets you preview:
the creation view,
the participation view, and
the results view.
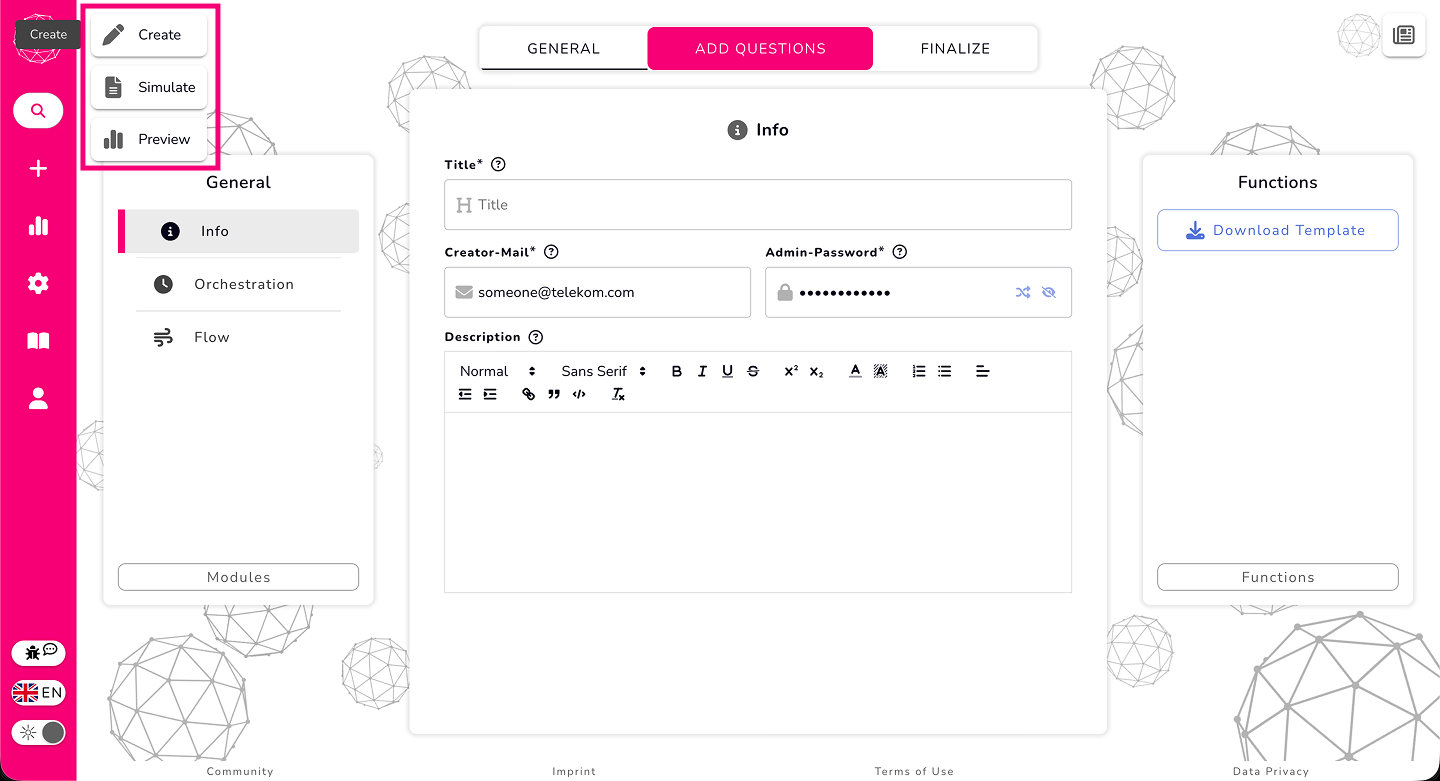
PreviewButton
It’s an easy way to see exactly what participants will experience, and how your results will look, before you ever share your vote.
Finalize
When everything is set up, head over to Finalize.
This page checks whether you missed anything important — such as a required field or a setting that needs attention. Each issue comes with a small navigation arrow that jumps you straight to the right place so you can fix it quickly.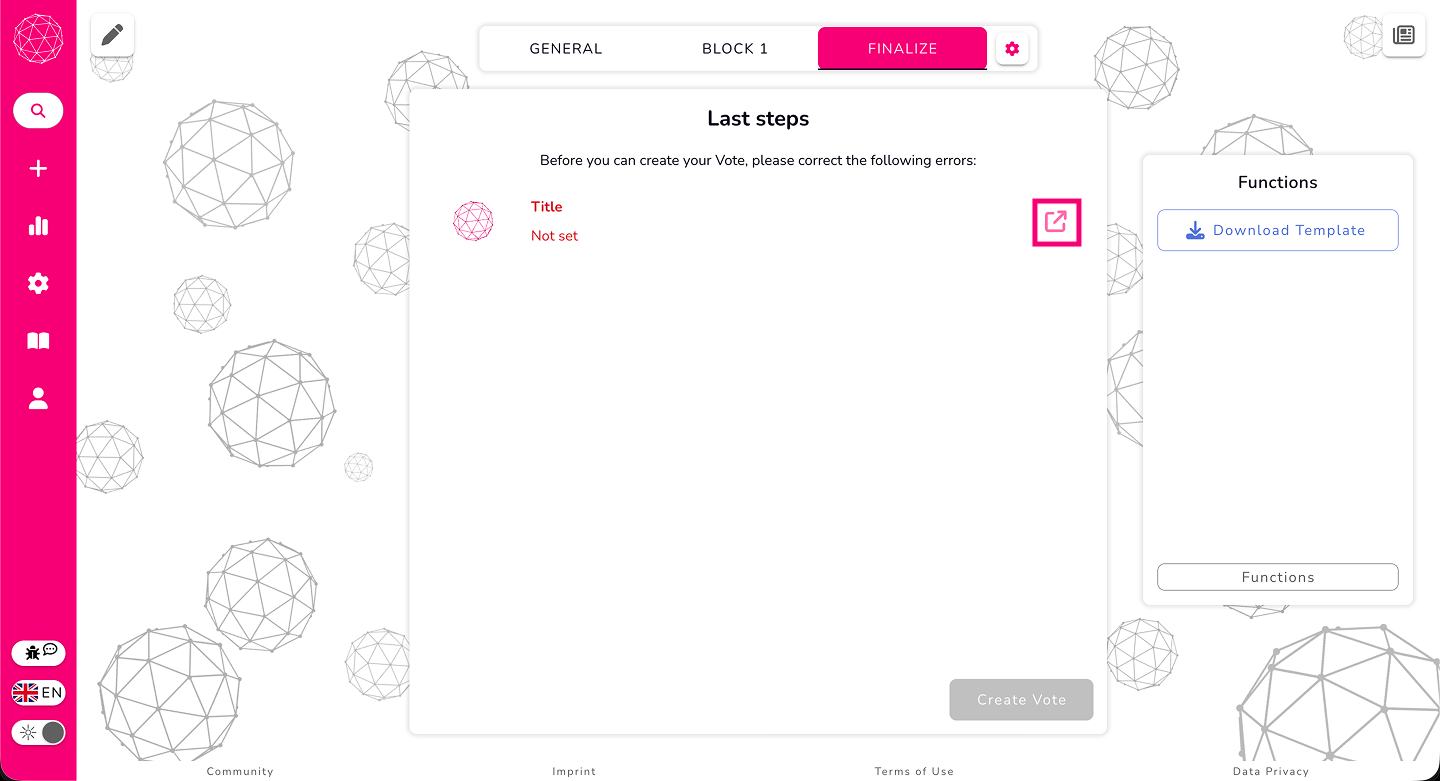
If there are no errors and everything is properly filled out, you can click the Create Vote button. This will finalize your setup and officially create the vote, making it ready to share with participants.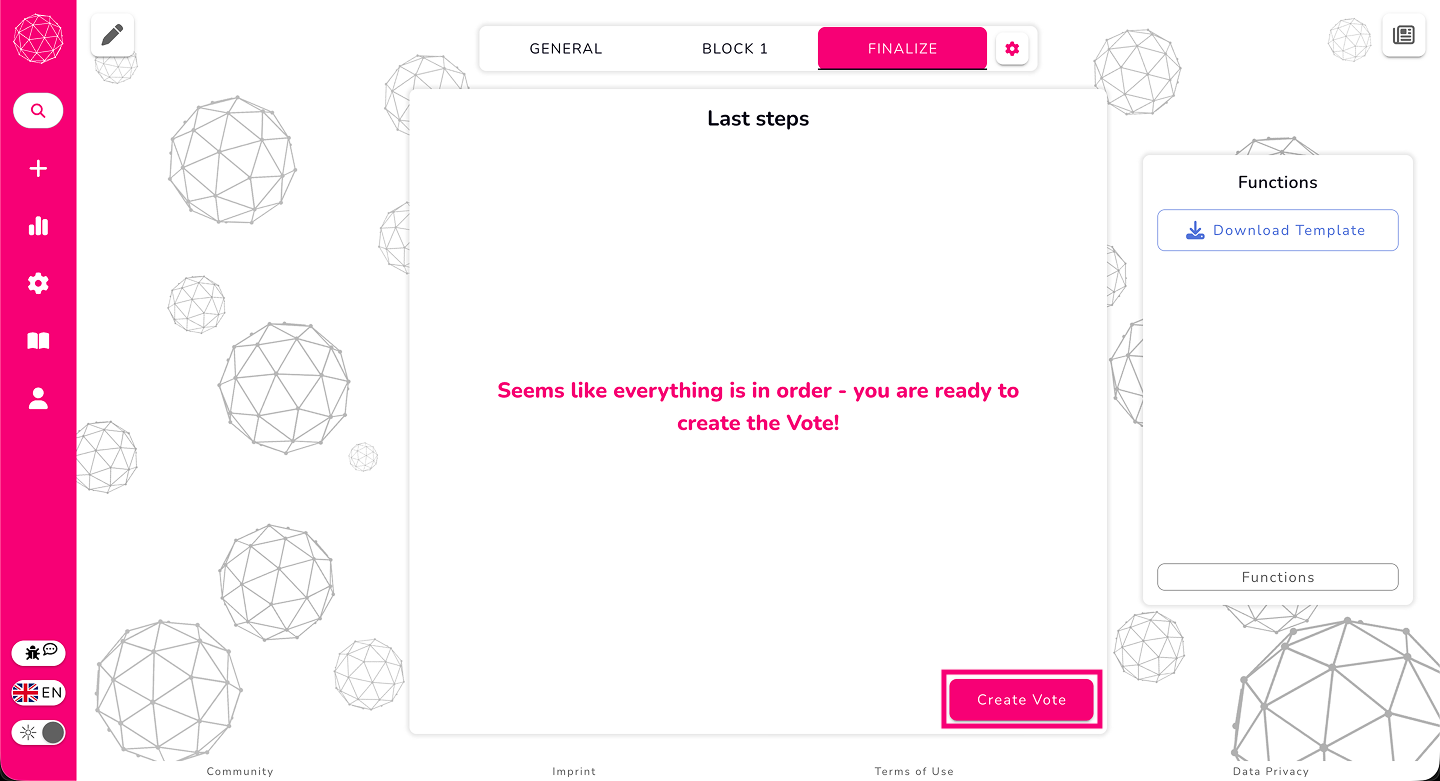
Share your Vote
Once your vote is successfully created, a Share Your Vote popup will appear. Here, you’ll find everything you need to get participants on board quickly: a QR code to scan, a shareable link, and the Vote ID. You can use any of these options to easily distribute your vote to your audience, and you’ll also receive an email with the same information so you can access it anytime.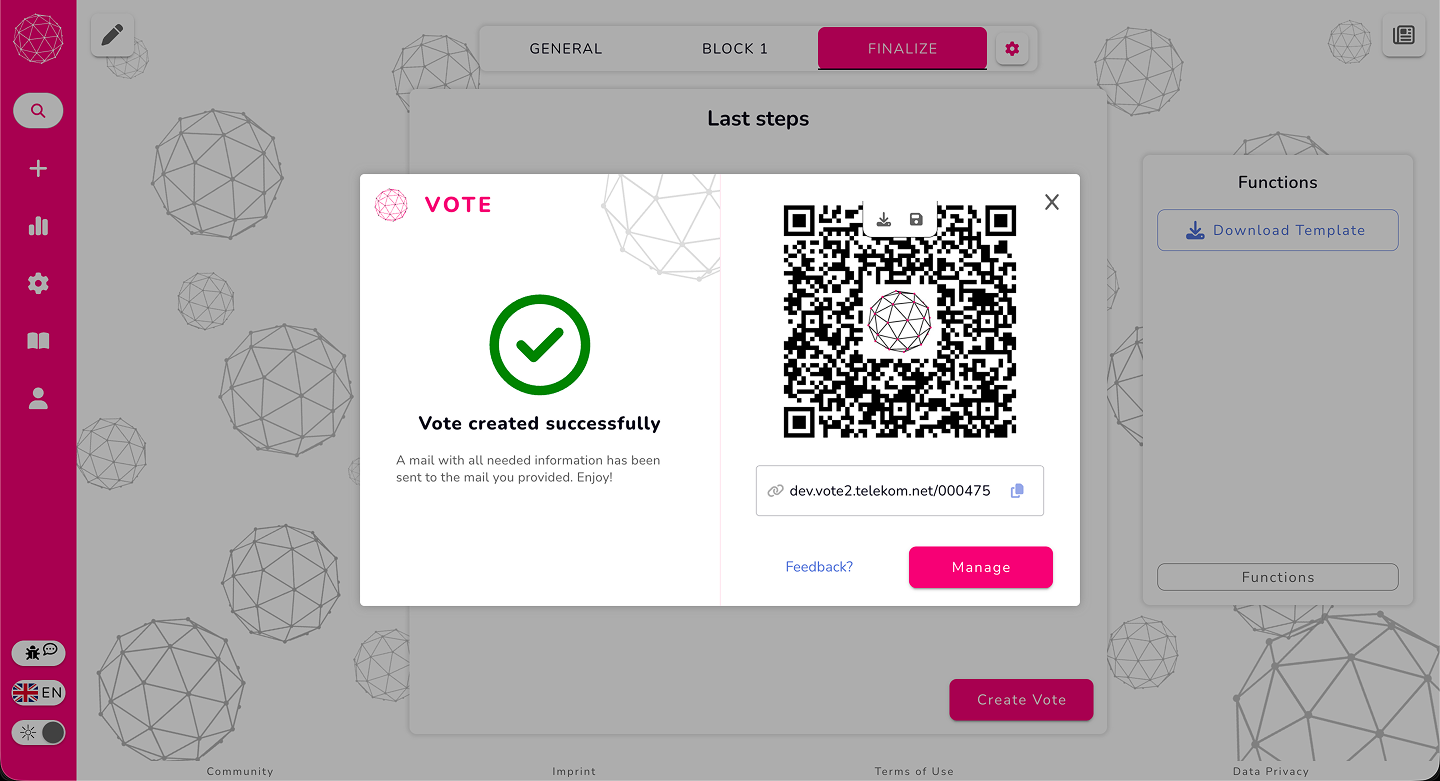
In addition, the popup includes two handy buttons:
Manage – takes you directly to the Manage page for this vote, where you can adjust settings, monitor participants, and handle administrative tasks.
Feedback – lets you send your thoughts, suggestions, or experience directly to us, the Vote development team, so we can continue improving the tool.